

CONGRATULATIONS
CONGRATULATIONS
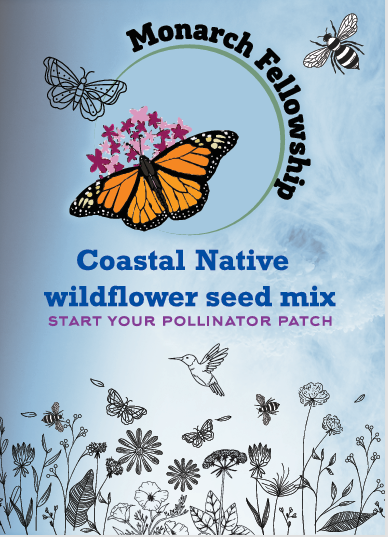
You’ve received free seedlings, a seed packet, or milkeed DIY kit from one of our Monarch Fellowship Community Hubs to start your native butterfly garden!
Monarchs are severely endangered in California. Only approximately 9000 were counted overwintering along the California coast in 2024. That is down from 4.5 million in 1980. Milkweed is the only host plant where monarchs lay their eggs, and its leaves provide the essential food for their caterpillars. Monarchs represent all our struggling pollinators including other butterflies, birds, and bees. Our neighborhoods are filled with lawns and non-native plants that might look good but they don’t support any native wildlife. Please use this milkweed to start a native pollinator garden to support wildlife at your home. You’ll have a garden that’s pretty AND functional.
Our goal is to create native habitat for wildlife one butterfly garden at a time
Please fill out the recipient form below.
Continue reading for planting instructions
Care instructions
-

Milkweed or nectar plant seedling
Monarchs can only lay their eggs on milkweed. Nectar plants are needed for food for monarchs and other pollinators.
-
DIY milkweed kit
Starter kit with planted milkweed seeds
-
Seed packet
Wildflower seed packet for a 5×7foot area.
More Information on Monarch Fellowship Plants
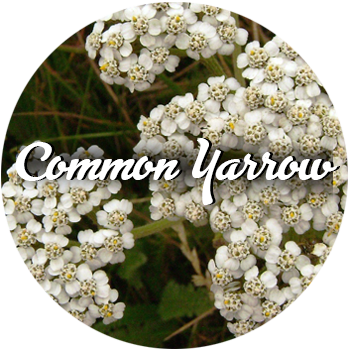
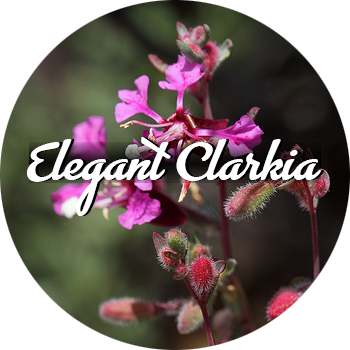
Check back soon for more information about the plants we have included in our free seed program.


Seed packet planting instructions
5x7 foot area to be seeded should be prepared by light cultivation and weed removal. Optimum planting season varies based on region. Warmer area ideal time is November 15 through March 31, just prior to anticipated rain. If you are in the mountains wait until after thaw and you can put some in spring and some in summer. Disperse seed evenly over soil surface. Rake the area lightly to incorporate seed into the top 1/4″- 1/2″ of soil. A top dressing of composted organic mulch (not manure) is recommended to help maintain even moisture during the germination period.
Maintenance: Water just enough (between rains) to maintain soil moisture during
germination. After germination until initial flowering, sprinkle the area with water to a depth of about 2″.
After flowering, little to no supplemental water should be needed.
Unlike many invasive plants which are meant to look good year round, natives may go dormant or turn brown in hotter temperatures. They will reseed and bloom again. To ensure return You may want to add seeds every year.
Growing Your Native Pollinator Garden
It is our hope that the plants you received from our Monarch Fellowship Hub are just the first of many California native plants you’ll include in your garden. The following organizations provide amazing resources for those interested in learning more about gardening with native plants, maintaining your garden without the use of pesticides as well as pollinator and invertebrate research.